Treasure Map Cake
One of our good friends got married on Saturday. Months before the wedding the groom asked me to make a treasure map cake. Of course I said yes! I took TONS of pictures and tried to be selective about the ones I chose to include in this post. Still, I think I have over 40 pictures here so you have been warned. Now you can sit back and enjoy looking through the pictures of a cake that took me three days to make!
Finally, I want to show you some pictures from the wedding!
I made my own fondant for all of the decorations. Since fondant alone doesn't hold its shape very well, I added tylose powder (it is used in making gumpaste). It worked like a charm. I kneaded it in after adding the color until it went from playdough consistency to clay consistency.
I let the palm tree leaves harden on upside down muffin pans for 1 day before I assembled them.
 |
| The 1st layer. |
 |
| The 2nd layer |
 |
| The 3rd and final brown layer. |
The fondant showed the bumps and unevenness of the rice krispies a lot more than I anticipated so I had to use 3 layers of fondant to make it look smooth.
 |
| Coloring the fondant for Kraken (the octopus). I used 2 parts red, 1 part green, and 1 part violet. |
All the bits and pieces drying before assembly.
Making the sails.
I used 1/8 inch wood dowels painted with food coloring and tied together with dental floss. Then I slipped the sails on and wrapped the fondant over the dowel to secure it and cover up the dowel.
I used tylose powder mixed with water for an edible 'glue' that was stronger than just using water to stick fondant pieces together. Using the tylose 'glue' was very helpful in assembling the pieces of the ship. Especially for the lanterns hanging from the side.
 |
| The cake was 12"x24" so I taped together 2 cake boxes to make it the size I needed. |
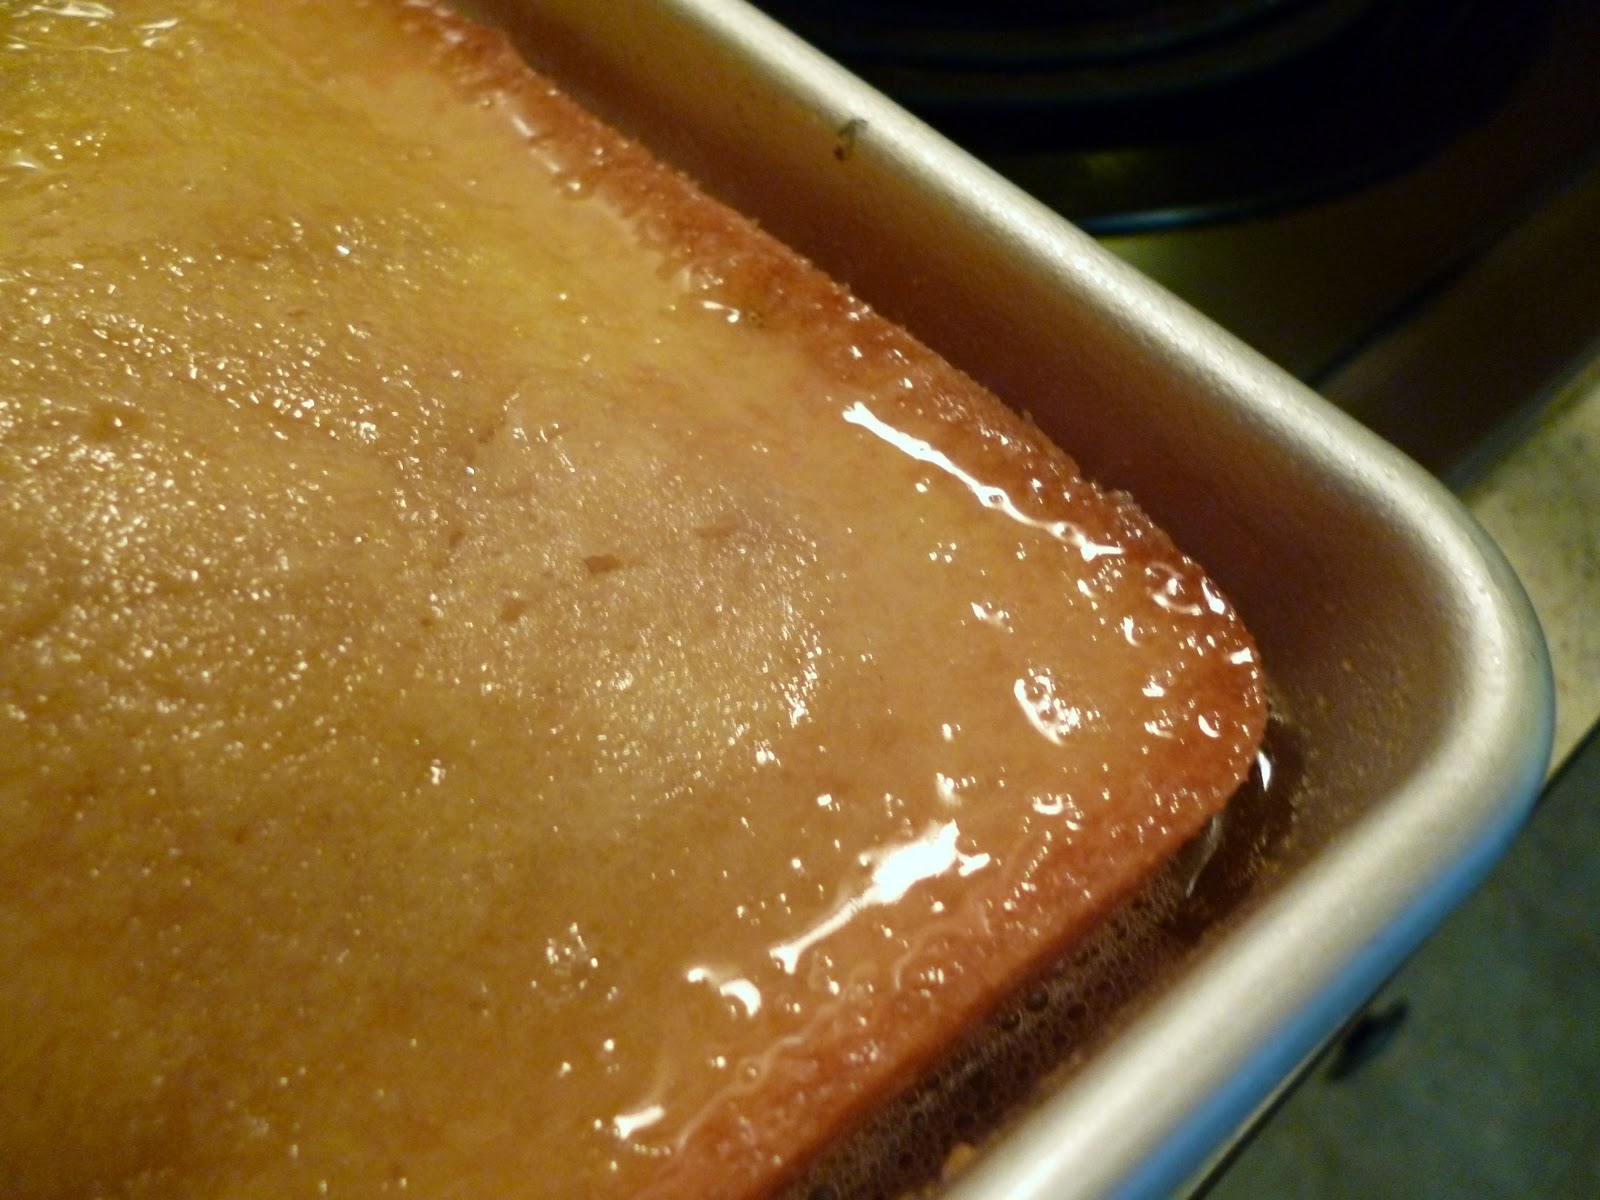
In keeping with the pirate them I made Rum Cake. I got nervous when all the rum puddled around the edges. But, eventually the cake soaked everything up.
I always hand cut my cakes, but they are never even. This time I remembered to label the top, bottom, and corners to line them up correctly during assembly. It really helped a lot!
 |
| Mix the food coloring into the marshmallows before kneading in the powdered sugar! |
I read about this in a forum when researching for the cake. It was a lifesaver. It made the whole process of coloring the fondant SO much easier. I wish I knew about this technique when I had to color a whole batch of fondant black for my iphone cake!
Another cool technique that I learned was how to marble fondant. To marble fondant you take 2/3 of the total volume of white, and 1/3 of the total volume of whatever color you want. Roll them out into logs, twist 4 times (twisting from both sides at the same time) and fold into a Z shape to keep the bulges at the ends.
Twist.
Make a 'Z'
Roll it out.
Repeat.
I did that whole process 4 or 5 times before it was as incorporated as I wanted it to be.
Then I used the 'mat' that my Aunt Joy bought me and it worked PERFECTLY!! I had used it once before and it kept sticking to the mat. But this time I added more shortening and had no problems whatsoever. I was the most nervous about this part and it turned out so much better than I had even hoped!
I stood there for a few long minutes trying to figure out the best way to get the fondant off the mat and onto the cake.
Success!
I mixed vodka and food coloring together, and used a coffee filter to dab it onto the treasure map. I started with ivory and then went over it again with brown.
All the pieces together and ready for final touches.
I had kept the marbled fondant scraps leftover from covering the cake and pinched it up in places, and flattened it in others to make it look like waves that I placed around the boat.
The Finished Cake
I was SOO happy with how it turned out and learned a lot through the process. The Groom was also thrilled with the finished cake and was very appreciative. I didn't get pictures of the cake cutting, but they definitely used pirate swords to cut the first piece :)!
Finally, I want to show you some pictures from the wedding!
 |
| The Bride and the Groom moments after the ceremony. |
 |
| Chris and I dressed up for the wedding! |
 |
| Chris dj'ing the reception :). |


I love this! I'm definitely adding your blog to my things I read regularly.
ReplyDeleteThank you so much!! I am glad you enjoyed this post. I had a really good time working on this project :).
DeleteVery cool. Love the way you created the waves.
ReplyDeleteThank you! I was really nervous about it. So I was very happy when it turned out like I wanted it too :).
Delete